Monday, April 27, 2009

Next UP? Fugget Ale!

S7302258

To keep the ball rolling right along, another batch coming up this Sunday. This time around, we are going to do a Dry Hopped IPA with Nugget and Fuggle Hops. I think it has potential to be my Summer Sipper this year. Here is the initial brewsheet as a tease. . .

Old Ale Bottling Day!

Today we got the Old Ale out of the Secondary Fermenter, into the bottles for conditioning. Alas, it really doesnt mean we are any closer to drinking the beer, because that is still 6 to 7 weeks off into he future, but we are one step closer.

S7302261

First off, I have to say that this is the single most useful we have made to help the brewing/bottling process recently is in the picture above. That bottle washer jet cut down the time it took today by half! Especially if you reuse commercial bottles in your homebrewing adventures, I cannot reccomend a bottle rinser highly enough.

S7302264

Note the subtle sign on the bottling bucket below. One of the most important things to do in homebrewing is to learn from your mistakes. We had serious issues with the spout leaking before, and were going to make sure that that trauma never occured again!

S7302265

Now, they are resting/conditioning comfortably in our basement (next to the Scottish Export Ale, which should be ready to drink this weekend coming up!). Side note, I think I might be able to brew down there all through the Summer! We had a bit of a warm snap this weekend, temps in the mid - 80's the last three days. . . and during that time, the warmest it got down there is 63! w00t!

S7302267

Up next sunday, an IPA!

Monday, April 20, 2009

Sunday 04/19 - Tres Perros Update!

Today was a big day for brewing on the home front, First we racked of our old ale into secondary. The initial gravity was a touch high, and the gravity after primary fermenting was a bit lower than we expected, so I guess it will be a bit stronger alcohol wise than originally expected (5.9% by volume). Tasted the sample I took to check the gravity, seems to be coming along just fine. I feel confident about this batch.


racking old ale into secondary

After that I tasted our Scottish Export Ale, which had been bottle conditioning for two weeks now. And while I think two more weeks will do it some good, that this beer shows lots of promise. Tasted pretty much like a beer of this style should!

scottish ale homebrew 2 week test

Pretty, huh?

Wednesday, April 15, 2009

So What Was Batch #001?

Somebody asked me what was the first homebrew batch we ever did. Well here is the answer. We brewed a premeasured can of extract from the company John Bull. The clerk at the home brew supply store we went to suggested adding 3lbs of malt extract, so wee did. Boiled the lot for a half an hour and added the dry yeast packet. After a week fermenting and two in bottles conditioning we had beer! And surprisingly, it was pretty good (though it definitely got better with time)! It was more than enough to start us down the road we now travel. . .

Tuesday, April 14, 2009

Glass Carboys Are More Fun!

One of the fun parts of fermenting in glass carboys is that you can watch the yeast at work while you wait. This batch seemed to kick into gear pretty quick, with foam (called krausen) forming on the top of the wort in only eight hours. By twelve hours there was a good inch of foam on the brew and the blow off was bubbling furiously. Its forty eight hours later now, and the action hasn't let up a bit. Check it out!

ferment 1

ferment 2

ferment 3

Monday, April 13, 2009

Batch #003 - Old Ale Brew Day!

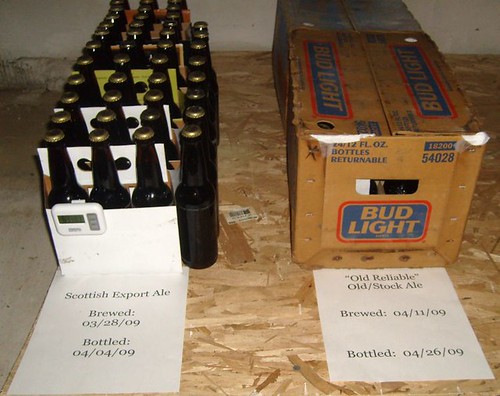
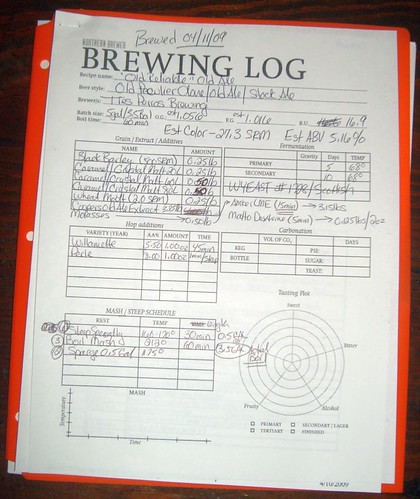
Saturday was the best day of the week again for us here at Tres Perros. . . BREW DAY! This time around, we are attempting and Old Ale/Stock Ale variety. It is actually an approximation of a clone of a rather popular brand of British old Ale that is rumored to not be distributed in the United States any more. The brew being cloned must stay a secret for now, (well its not really much of a secret if you do a bit of research) but eventually that fact will be revealed. But that's not important right now, what is, was that it was BEER MAKING TIME!

(Note: If anybody is interested in homebrewing, but hasnt taken the plunge yet, the following post is a pretty simple breakdown of how to make an Extract Based Brew. Its pretty simple, if you just take your time and think things through).

The first thing we did was get everything together. I am a rather scatterbrained type of guy and it really makes life easier if I keep all the materials I need to do something in close contact. The french call this mis en plas (literally "put in place"), and in cooking as well as brewing, its a good tenet to follow.:

1 misen plas

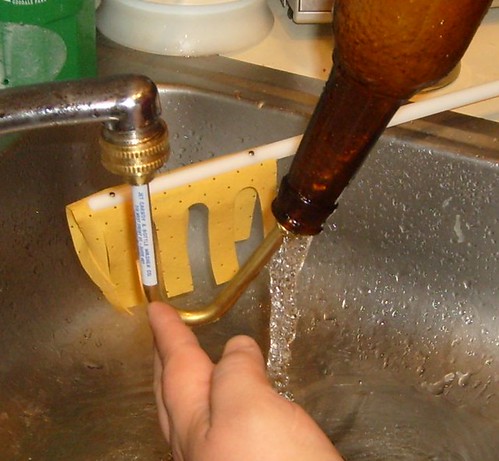
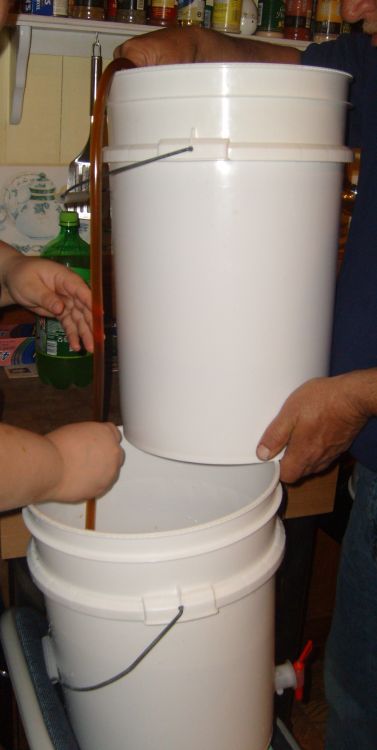
First you get together all the things you need for the boil, and then you gather everything that needs to be sanitized and do as such. Sanitation cannot be overstressed. While you are trying to grow yeast in an effort to get them to make beer for you, thats the only thing you want growing:

2 misenplas

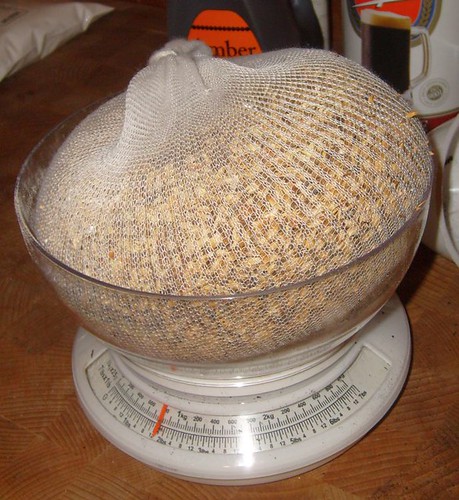
Next we weighed out all the specialty grains out to steep. Specialty grains are used by homebrewers to add color, body, taste, and aromatic properties to the beer. In fact, some styles of beer cannot be properly achieved without the help of specialty grains.

3 weigh specialty

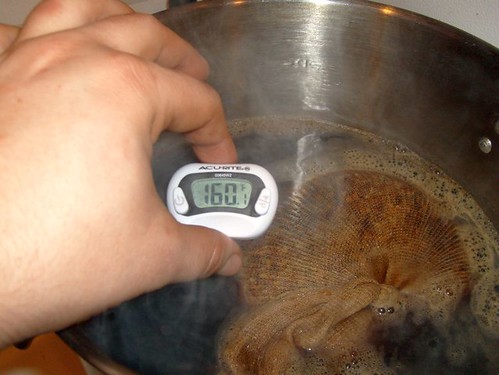
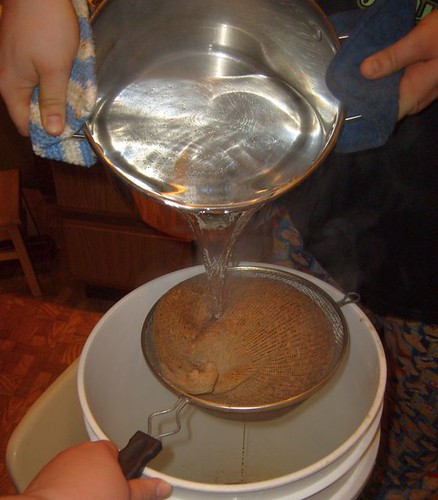
When steeping specialty grains for for an extract brew, you generally need the water between 150-170 degrees, for aat least thirty minutes. The process is much, like making a pot of grain tea:

4 water to steep

5 add grains

6 steep temp

7 steeping

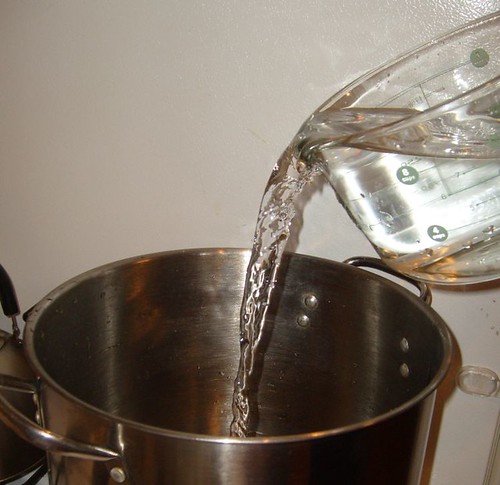
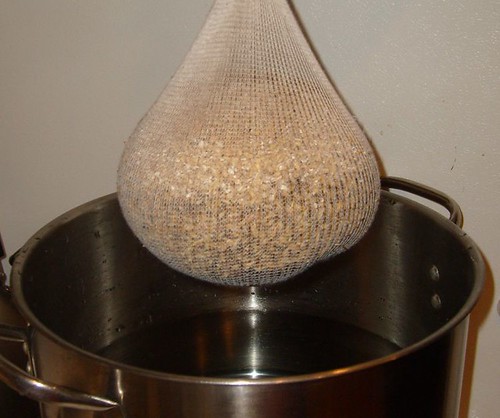
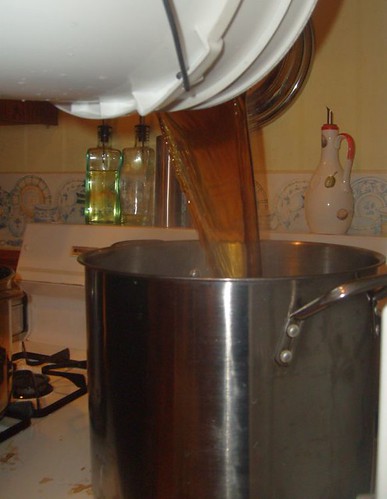
Our recipe called for a rinse at the end of the steeping cycle. In another pot we had more water heated to 175 degrees, which we ran through the sack of grain to get all the goodness out:

8 sparge

When thoroughly rinsed out, you pour all the water back int he pot and bring it to a boil. When the boil is good and rolling, there are Malt and Hop Pellet additions to be made at regular intervals. In our recipe the boil lasted for a full hour:

9 refill pot

11 add old ale extract

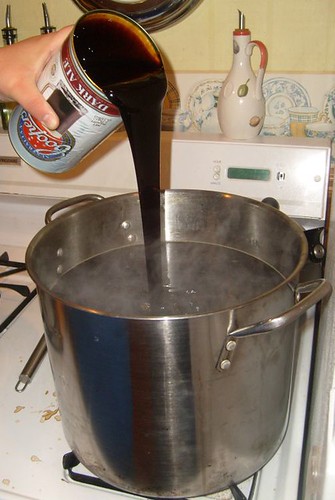
(Our Old Ale recipe included a can of Coopers Dark Ale extract. This can be used to make a pretty decent beer on its own, but with a little tweaking seems to make a decent base to build upon, for a good beer. We added it into the pot at the very beginning of the 60 min boil).

13 add willamette at 45

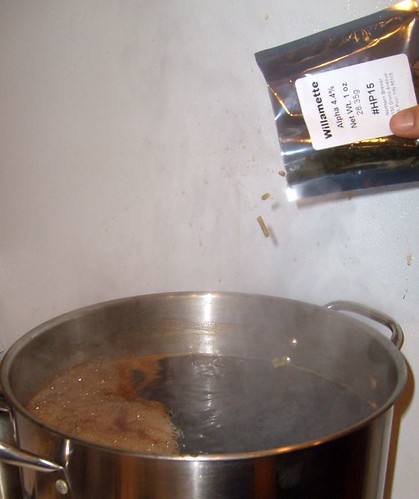
(In all the brews I have made to date, I have used hop pellets, as they seem to be the most convenient to use and store. In this case, Willamette hops are added for bittering at the 45 minute mark).

14 add amber at 15

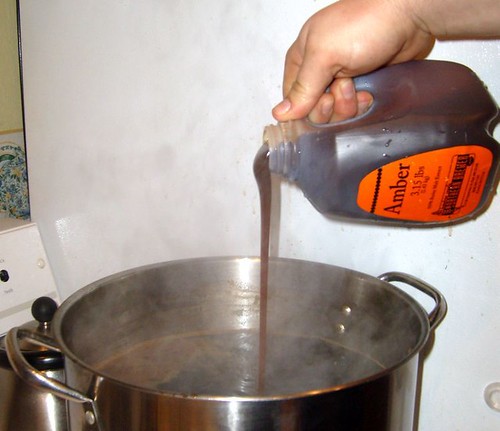
In batches of beer that boil a volume smaller than the total volume, it can be beneficial to only add some of the malt extract at the beginning of the boil. Adding some of the malt toward the end of the boil accomplishes a few things. First, because the malt spends less time over the burner its less likely to scorch or discolor. also, there is some evidence to suggest it helps you utilize hops more efficiently. We added the unhopped amber extract with 15 minutes remaining in the boil.

13 add willamette at 45

A quick addition of Perle Hops with 2 minutes to go and the boil is done!

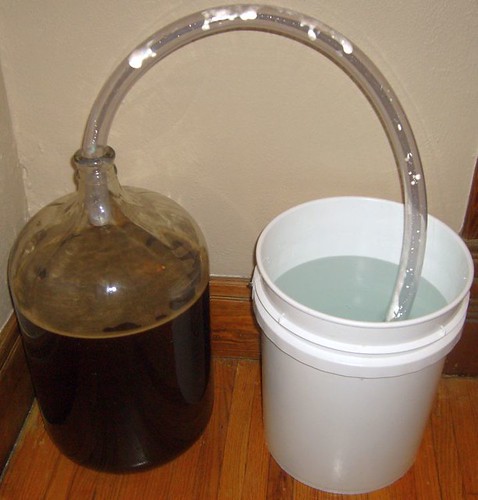
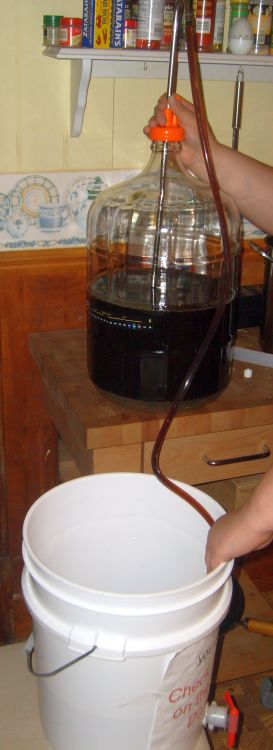
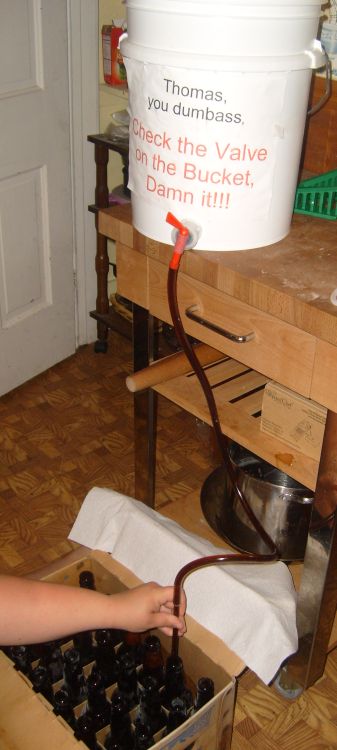
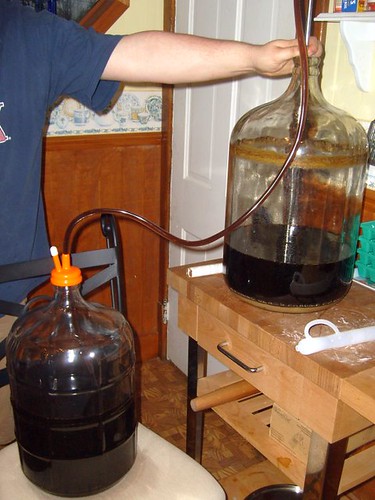
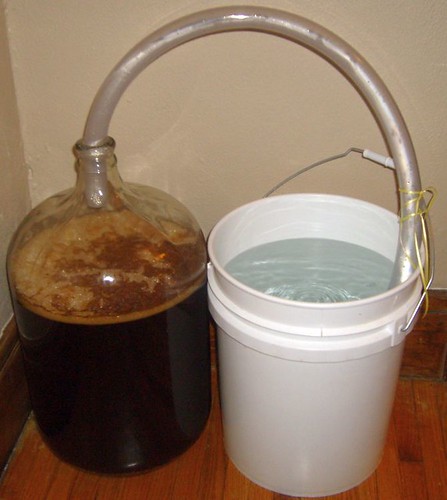
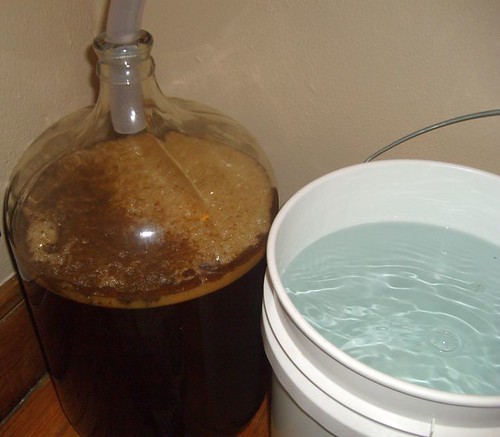
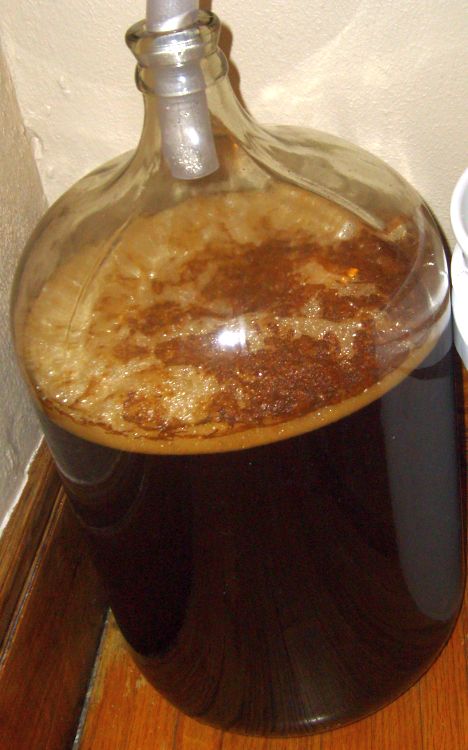
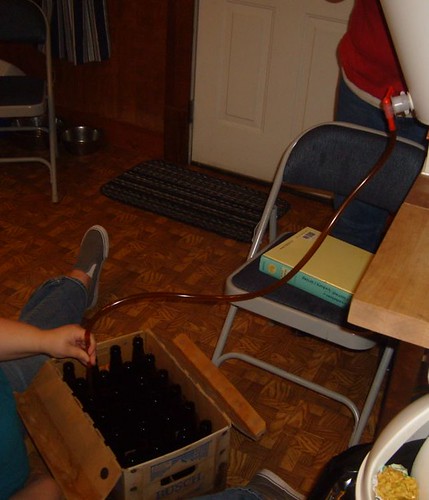
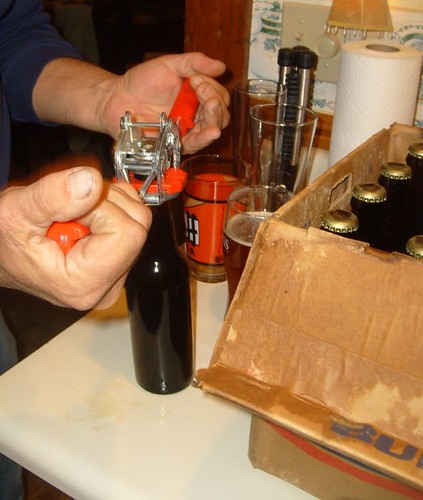
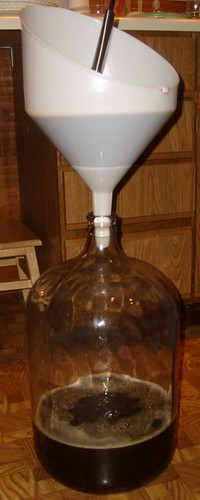
All thats left is to strain and cool the wort, add some yeast, and you are ready to go!

16 strain wort

17 fill carboy

18 pitch yeast


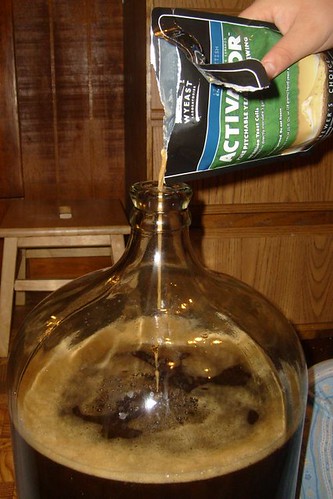
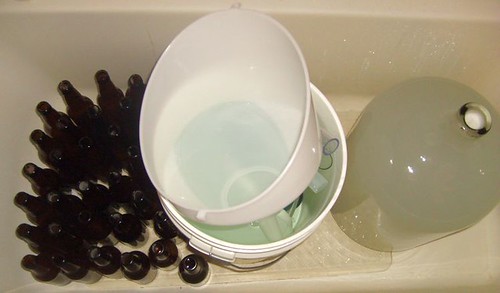
Now, as usual, the tough part. The waiting. . .


19 ready to go!

Sunday, April 12, 2009

Old Ale Recpie Brewed

reliable brewsheet

Carrie and I Brewed an Old/Stock Style Ale tonight, which I will post a blow by blow of tomorrow. For now, here is the brewlog sheet for the beer. I have the software, beersmith, which I use often and helps out the brewing process quite a bit, but there is something nostalgic and special about the tactile function of sitting down and mapping out by hand what we plan to do. More tomorrow, after the holiday festivities.

HAPPY EASTER ALL!!

Sunday, April 5, 2009

Bottling Day!

Ah, bottling day. . . . the least fun and most tedious time for a home brewer. This might be the single reason it was so long between batches of brew for us. This is the hardest part of the whole process to get jazzed up about. Never has one of the beacons of the home brewing movement, Charlie Papazian's, Golden Rule ("Relax, Don't Worry, Have a Homebrew") seem more important to remember. We decided to take it a step further and have a BEER BOTTLING PARTY! Misery does love company, after all! So we invited (co-brewers) Carries parents over, had some prime rib and a few brews, and bottled our tasty ale!

First came the tedious task of washing the bottles, rinsing them out, sticking them in a sanitizer bath, and rinsing them again! I didn't take pictures of that, because reliving that just might bring me to tears. So i have this picture to present, in honor of Victory!

bottling1

After all that tedium, the rest of the process isn't nearly as bad. First you have to siphon the fermented wort out of the fermenter into the bottling bucket:

bottling2

we had a bit of trouble with the gasket around the bottling bucket spigot leaking (not shown here), which cause a little more agitation of the beer then I would like, but I am not going to stress about it, as it is a well known fact that stress ruins beer's flavor (RDWHAHB and all, y'know. . .). When that was settled, and after a quick dose of priming sugar, into the bottles it goes:

bottling3

After that, slap on the caps and we are ready to go!

bottling4

Well, not quite! Alas, more of the hardest part of homebrewing to come. More waiting. This particular ale need four weeks to bottle condition before its really going to shine (though I plan on checking on it in 2, to see how it is coming along). So the waiting game resumes again. . .

I think I'll have a beer and plan out my next batch!